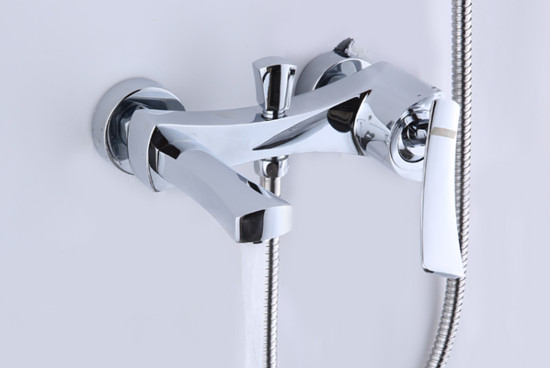
Kaiping faucet manufacturer tells you about stainless steel faucets Analysis of press type faucet maintenance and repair
Regardless of the appearance of the press type faucet, whether it has two handles for hot and cold water or only one handle for controlling hot and cold water together, it works according to certain basic principles. The shower faucet manufacturer introduces how to disassemble a press type faucet and repair dripping problems:
What you need: Use these things to deal with press type faucet screwdrivers, penetrating lubricants, carp pliers or adjustable wrenches and their replacement pads.
Process 1: Remove the handle and inspect the components of the faucet. Use a large carp pliers or adjustable wrench to remove the packing nut, being careful not to leave scratches on the metal. Rotate the valve core or shaft in the same direction as when you turn on the faucet to unscrew them.

Process 2: Remove the screws that secure the washer. If available, use penetrating lubricating oil to loosen the screws. Check the screws and valve core, and replace them with new ones if there is any damage.
Process 3: Close the water supply and remove the small screws on or behind the faucet handle to remove the handle fixed to the faucet body. Some screws are hidden under metal buttons, plastic buttons, or plastic sheets that are stuck or screwed into the handle. You just need to flip the button open and you will see the handle screw installed at the top. If available, use some penetrating lubricating oil similar to WD-40 standard to loosen the screws.
Process 4: Replace the old gasket with an identical new one. The new gasket that matches the old gasket can generally prevent the faucet from dripping. You should also note whether the old gasket has a sloping surface or a flat surface, and replace it with the same new gasket. Gaskets designed only for cold water will expand violently when hot water flows through and block the outlet, causing slow flow of hot water. Some gaskets can work in both cold and hot water, but you should make sure that the gaskets you buy for replacement are identical to the original ones.
Process 5: Fix the new gasket onto the valve core, and then install the various components in the faucet from the beginning. Rotate the valve core clockwise. After the valve core is in place, install the packing nut from the beginning. Be careful not to leave scratches on the metal with the wrench.
Process 6: Install the handle from scratch and replace the button or disc. Open the water supply from the beginning and check for any leaks.
Article source: Kaiping faucet http://www.clasito.net
-
04-13
What is the reason for installing a bubble on a flat faucet
I don# 039; T know if we have ever thought about why there are so many bubbles in the water flowing out of the faucet? Actually, this is mainly because the faucet is required with a bubble, which can
-
04-13
What are the surface treatment processes for faucets
In recent years, with the advancement of technology, there has been a wide variety of faucet products In order to match different styles of home design, faucets have become more colorful, and there ar
-
04-13
How to maintain and maintain a flat bathroom faucet
After choosing a preferred bathroom faucet, how to use and maintain it correctly is a headache and headache for many users In fact, as long as the installation, use, and maintenance are correct and ap
-
04-13
How to determine the height and orientation of the Kaiping bathroom faucet
Strict requirements should be placed on the height of the faucet, and attention should be paid to issues such as water leakage during installation Therefore, when installing a bathroom faucet, the con
